(1) Choose positivity over pace…to a point
 If your goal is to have fun, be sure to prioritize positive attitude over pace or die-hardness when choosing prospective teammates. There is no I in team, and it’s better to have a group of back-of-the-pack non-complainers who support their teammates than a fast group of folks who gripe the entire time; however, you want a team with an average pace of no slower than 11 min/mi (the slowest teams being 11:30/mi), or you’ll worry the entire time about your team having to be leapfrogged. The other option is to get a group of like-minded (level of seriousness, pace) runners who can get along with anyone.
(2) Get good gear
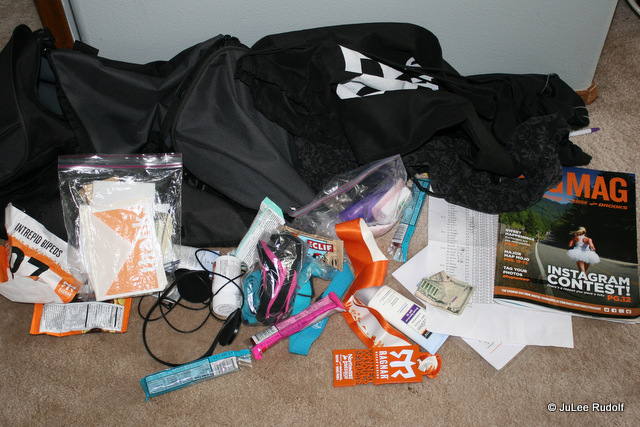
 Buying three headlamps for fifteen bucks seemed like a good decision, until we ran with them. Mine banged against my forehead for half a mile before I pulled it off and carried it the rest of the way. Wish I’d invested in a quality model and, especially, tried it out on a run before the big night. Van mates can share blinkers and head lamps for night time hours, but don’t be like me the first year and offer to share safety vest. We borrowed some cheap ones to wear as required when outside our vehicle during night time hours, and shared and a few good-quality vests for running. I loaned out my brand-new one, which was returned dripping with sweat. I had to put it on, pre-soaked, later that night.
(3) Have a “thing”
 Over the past three years, our team has had some “things,” that we do, and you should too. We buy matching team T-Shirts (note: Ragnar is thrilled to let you use their logo on your team shirt – it’s free advertising for them – be sure to include the year and choose a shirt/lettering color combination that stands out), wear the free tattoos they hand out at the start, decorate our van and…(brag alert)…something I dreamed up one year…use permanent markers to draw symbols on water bottle caps so that we know whose is whose. The first year, nobody wanted to give someone the one with the frowny face. It’s fun to talk of who has the “fish,” “flower,” “smiley face,” or whatever. A more advanced “thing,” is finding a clever “green” way to tag others’ vans.
(4) Insist on athletic supporters
 Everyone needs to understand ahead of time and be willing to take on the responsibilities of the non-runner, including: taking turns at the wheel, in the navigator’s (and safety person’s) seat, and standing by the road to hand your runner water and moral support. Additionally, whether or not the entire team needs to be at the start and/or finish should be discussed and decided ahead of time. Most importantly, you MUST vet your runners, especially if you don’t know them. Although this worked out fine in the end, one year we ended up with one gal whose longest training run was five miles (that is not a typo) and another gal who was not even a runner (that is not a typo either), just someone who wanted to give Ragnar a try. If something is really important to you (everyone going to the finish line is important to me because it’s the only chance you’ll have to get a group photo), be sure to tell every single person and let them know that if their plans change, they need to tell you so that you can make different arrangements (get a sub for them) if you can.
(5) Pace calculator ptooey
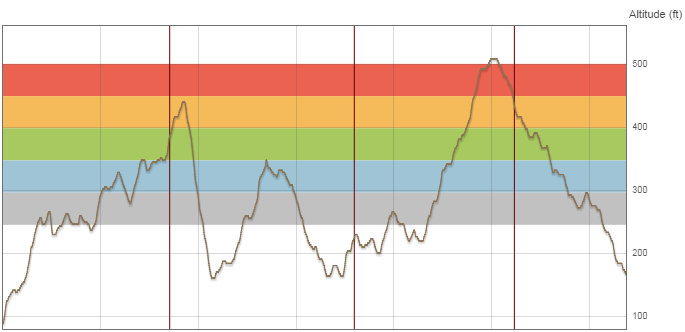
 Although our team lucked out by having enough persons overestimate their pace balanced by persons who underestimated their pace to finish within an hour of our estimated time, I think that calculating estimated arrival times yourself is probably more accurate than using the Ragnar pace calculator, which adds 2% of a leg distance for uphill sections, subtracts 1% for downhill, increases middle leg paces by 5%, and decreases last leg paces by 15%. The only purpose of the race calculator is to determine if your team will make it through a given checkpoint while it’s open, and, unless your team is extremely fast or extremely slow, you don’t really need to worry about it.
(6) Be sure that both vans have a leader
 Because you’ll need to collect the proper safety gear, print out the Race Bible and Captain’s Meeting Notes, and work out logistical details like when you plan to meet to travel to your van’s first exchange, it’s nice to have one person designated for each van to ensure these details get worked out. You might also ask your van captain to assign runner distances.
(7) Wait to choose legs and do it diplomatically
 Nobody except your teammates will know or care about the runner assignment order shown in the online profiles on your team page. And leg maps distances won’t likely be finalized until about a month before the start. Our first year, months before the race I asked everyone to give me two or three runner positions they’d be willing to be assigned. Nearly everyone chose the shortest distances and several chose only the shortest. A month before the race, a few distances changed (some by several miles) and some newer, less-experienced runners ended up with more difficult distances than the veterans. And by then, nobody offered to switch. My advice: find out each runner’s skills and assign tentative distances a couple of months out, telling each they’ve been assigned “the longest, middle, or shortest” runner spot but that if race distances and maps change, their assignments will too.
(8) Sleepless in Seattle
 Amped on adrenaline and forced to lie on the ground or in an unfamiliar place, you are unlikely to get much rest, so plan accordingly by getting plenty of sleep leading up to the race and realizing that you’ll do fine with or without it, probably without it.
(9) Support your local volunteer
 Volunteers make the race. Be sure to show your appreciation along the way with kind words or a smile. And do what we have done every year: buy a thank you card for each volunteer and ask the team to sign it, then send it to them with a ten(ish) dollar gift card to let them know that you are grateful for the time and effort they put into helping out your team (and saving it a small fortune in additional fees). I just tacked on a fee of $2.50 per person to cover the cost of the gift cards.
(10) What’s in a name
 Picking an appropriate, cool name that everyone can agree on is important. Choosing Skirty Dozen (with “Does this skirt make my butt look fast?” on the backs of our shirts) for our first year’s team meant that a few folks stopped by to take photos of our shirt. Our second year’s team’s shirt back said, “If found on ground, please drag to next exchange.”


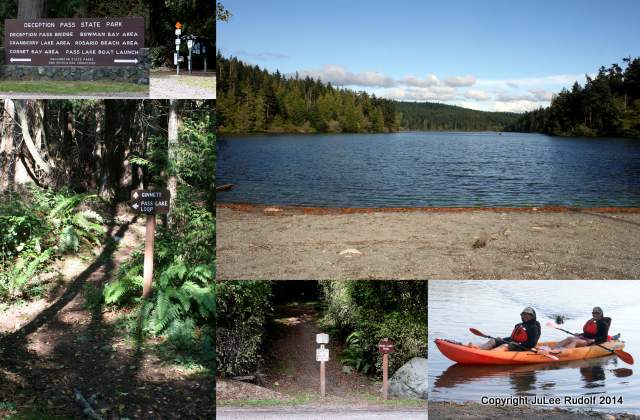


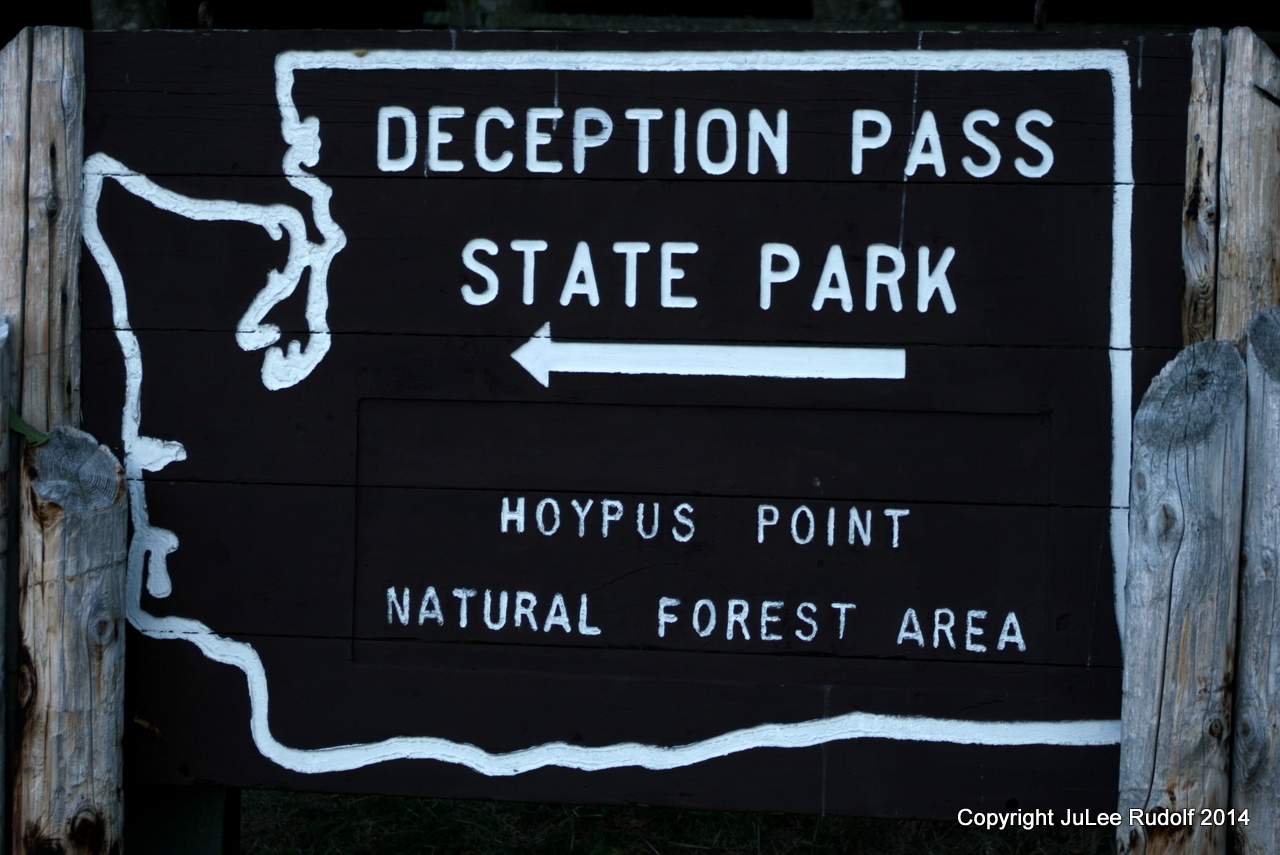
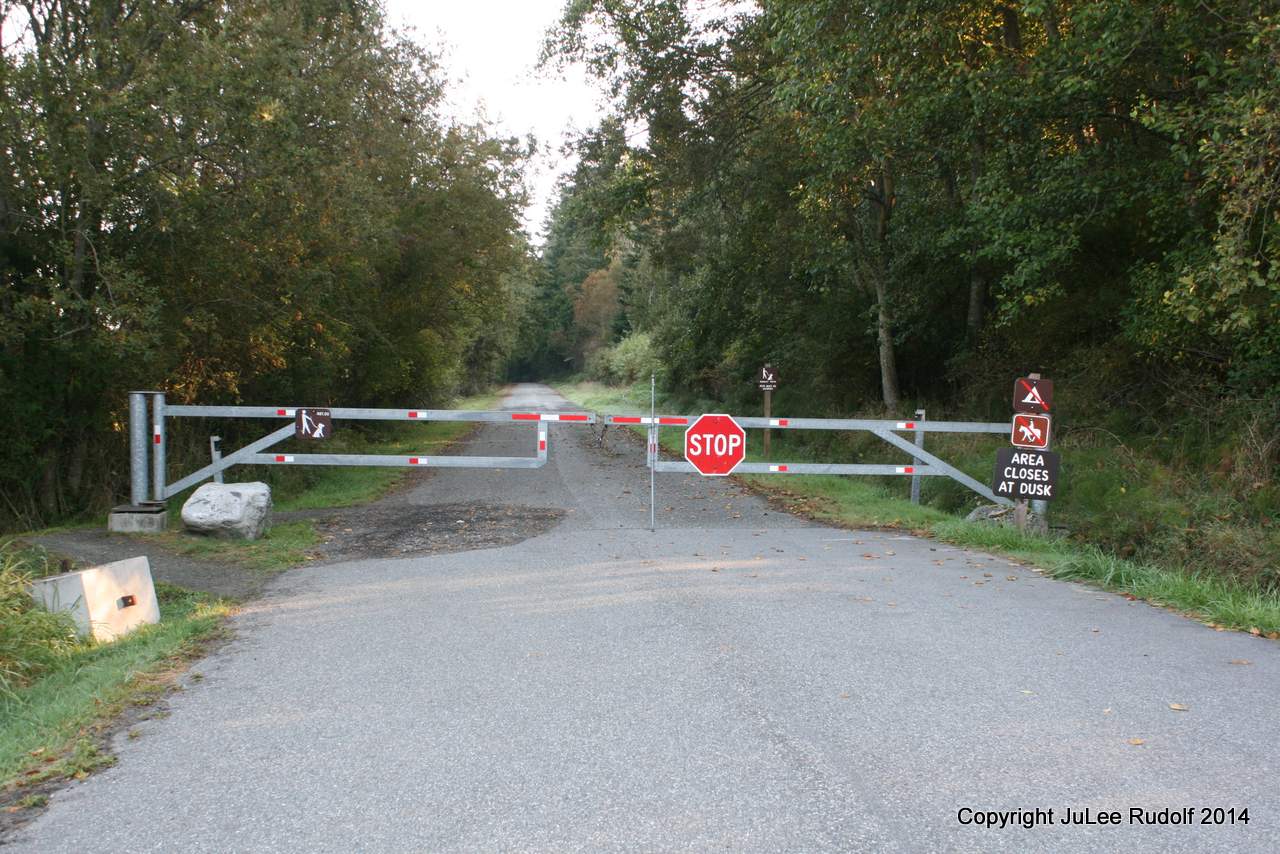


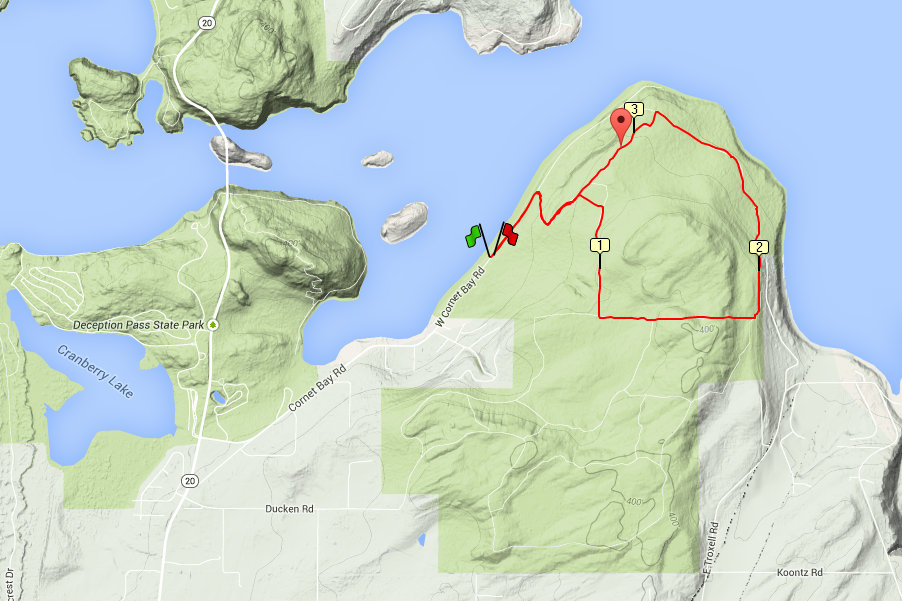
 At the CCC CROSSING sign, go left. Continue straight on past the WEST HOYPUS POINT TRAIL (you will now have made a complete loop) and back to the paved road. Turn left and continue to the gate.Go right when you see the West Hoypus Point sign